Getting Started
Akomi is currently available by invitation only. To request access, email [email protected]. If your organization already uses Akomi, please reach out to your system administrator for an invitation.Creating an Account
You will receive an invitation email from[email protected]. Click the link in the email to accept your invitation and create your account.
If you have been invited by your administrator but did not receive the email, visit https://app.akomi.com/auth and sign up using the same email address to which the invitation was sent.

Installing the Akomi Plugin in Your EHR
The Akomi support team will assist you in downloading and configuring the
Chrome extension. This extension is required to create authorization requests
directly from your EHR.
Submitting Authorization Requests
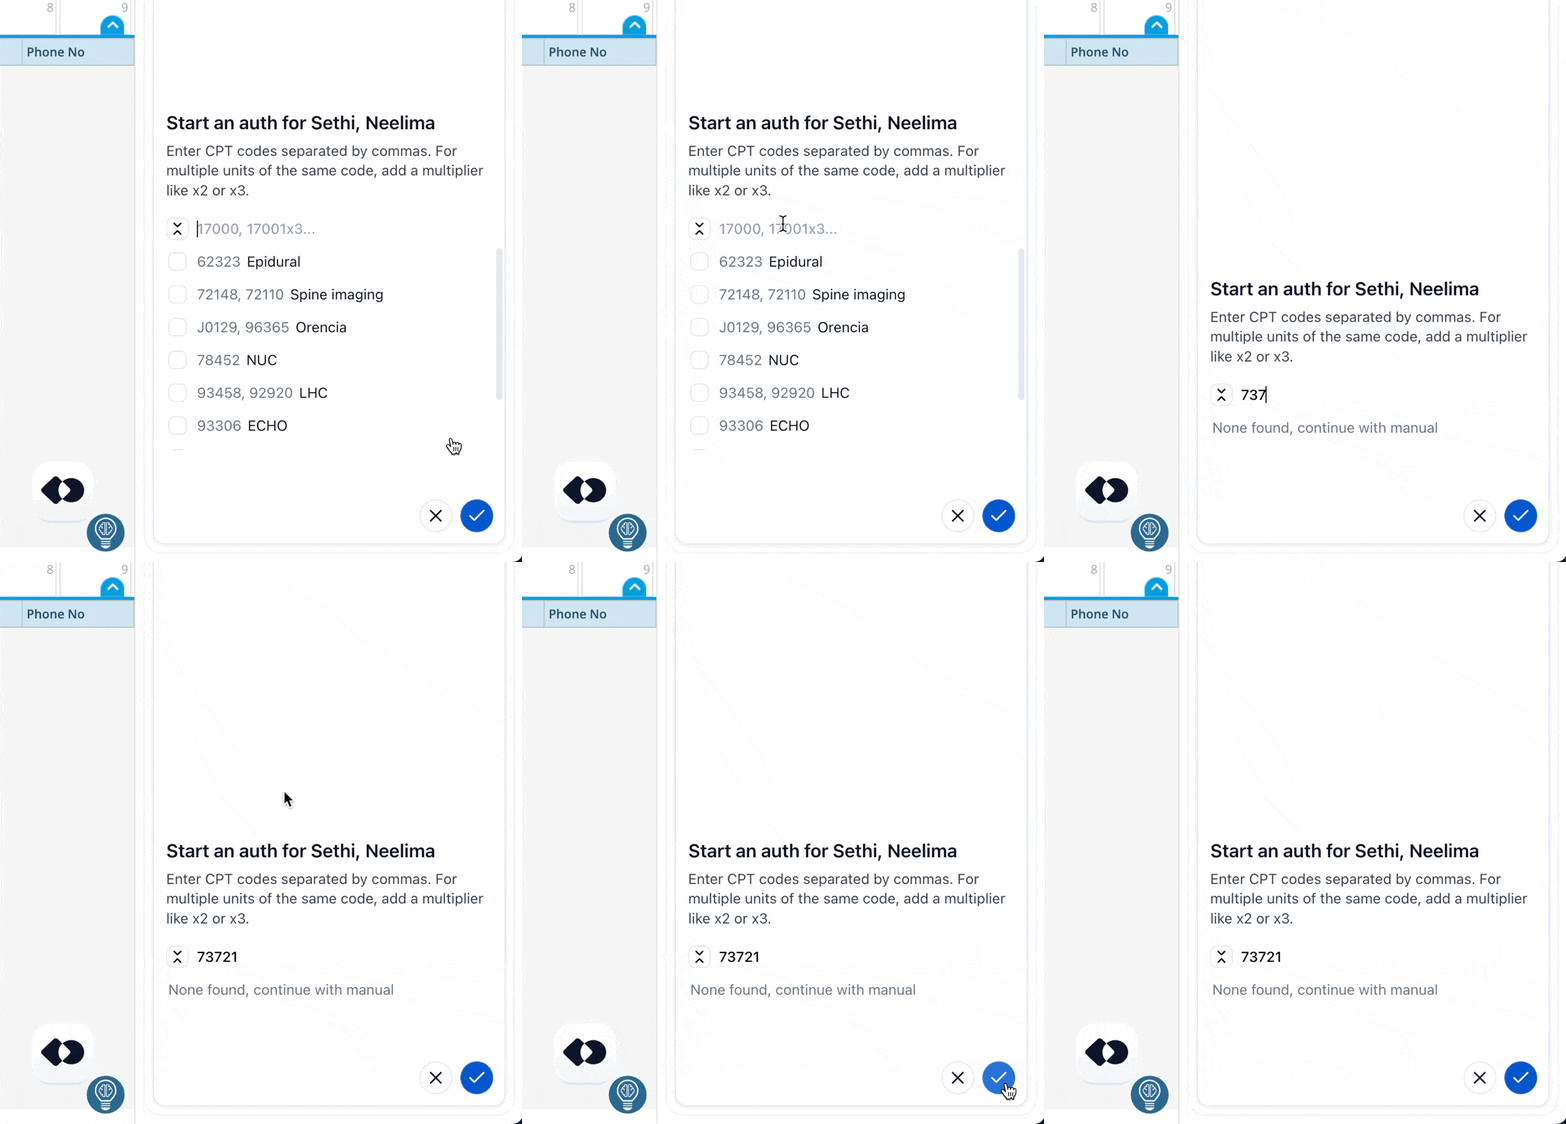
Think of Akomi’s EHR plugin as an authorization copilot integrated with your EHR. It responds and adapts based on the current screen displayed in your EHR. For this guide, we use eCW as an example, but Akomi works with any EHR. (The specific pages where patient details appear may vary—contact our support team if you have questions.)
Akomi's side panel, overlaid on an eCW patient chart
Configure CPT Code Bundles
CPT bundles let you group commonly used procedure codes together for fast,
easy selection.

Manually enter any set of codes in a comma-separated list